

For our next installment in honor of March National Craft Month, I’ve got one well worth the effort!
I’d been searching for a rustic, three tiered produce rack for our kitchen and couldn’t find the one, but I had found some pretty great baskets and figured I could just make one. Why not?
This project will be a little quicker if you already have a ceiling hook you can use. I didn’t, so I had to install that first. I’ve outlined the DIY below, from what you’ll need to what you need to do.
Total Time: 2 hours
Approx. Cost: $40 (depending how expensive your baskets are)
What You’ll Need
heavy duty swivel hook kit (for ceiling hook) drill w/ bit & screwdriver tips (for ceiling hook) 2-3 baskets 60-80 feet of twine (I used about 70 feet) scissors ruler 4-6 feet of 1/2 inch rope (more or less depending how high your ceilings are) garden shears (or large, heavy duty scissors) 2 sets of 1/2 inch metal rope clamps hammer 1 steel anchor shackle (mine is galvanized. you could also use any other type of hook (a j hook would be cool))
What To Do
If you need to, first install your ceiling hook. I got my kit at Lowe’s for just a few bucks and already had a drill set at home. Simply follow the instructions provided in the kit.
For your actual hanging baskets, the first step is to attach your baskets together with twine. Figure out how much space you want between the baskets (allowing extra for tying), do a little measuring and cut your twine to length. For the twine in between the bottom and middle baskets, I cut mine to 32 inches, and to 24 inches for in between the middle and top baskets. Be sure to double up your twine when tying because you’ll need the extra support, so you need to cut 8 pieces of the same length twine, not 4, for each length. As you tie the twine to the baskets, string two pieces through the top edge on one corner of the bottom basket and tie them into a knot over the top edge on the same corner of the next highest basket. You will end up with four strings of twine in each corner of each basket. Continue until all baskets are tied together. Don’t worry about perfecting the balance just yet. Once it’s hanging with some weight in it, you can more easily tell if it is lopsided, then retie some of the knots.


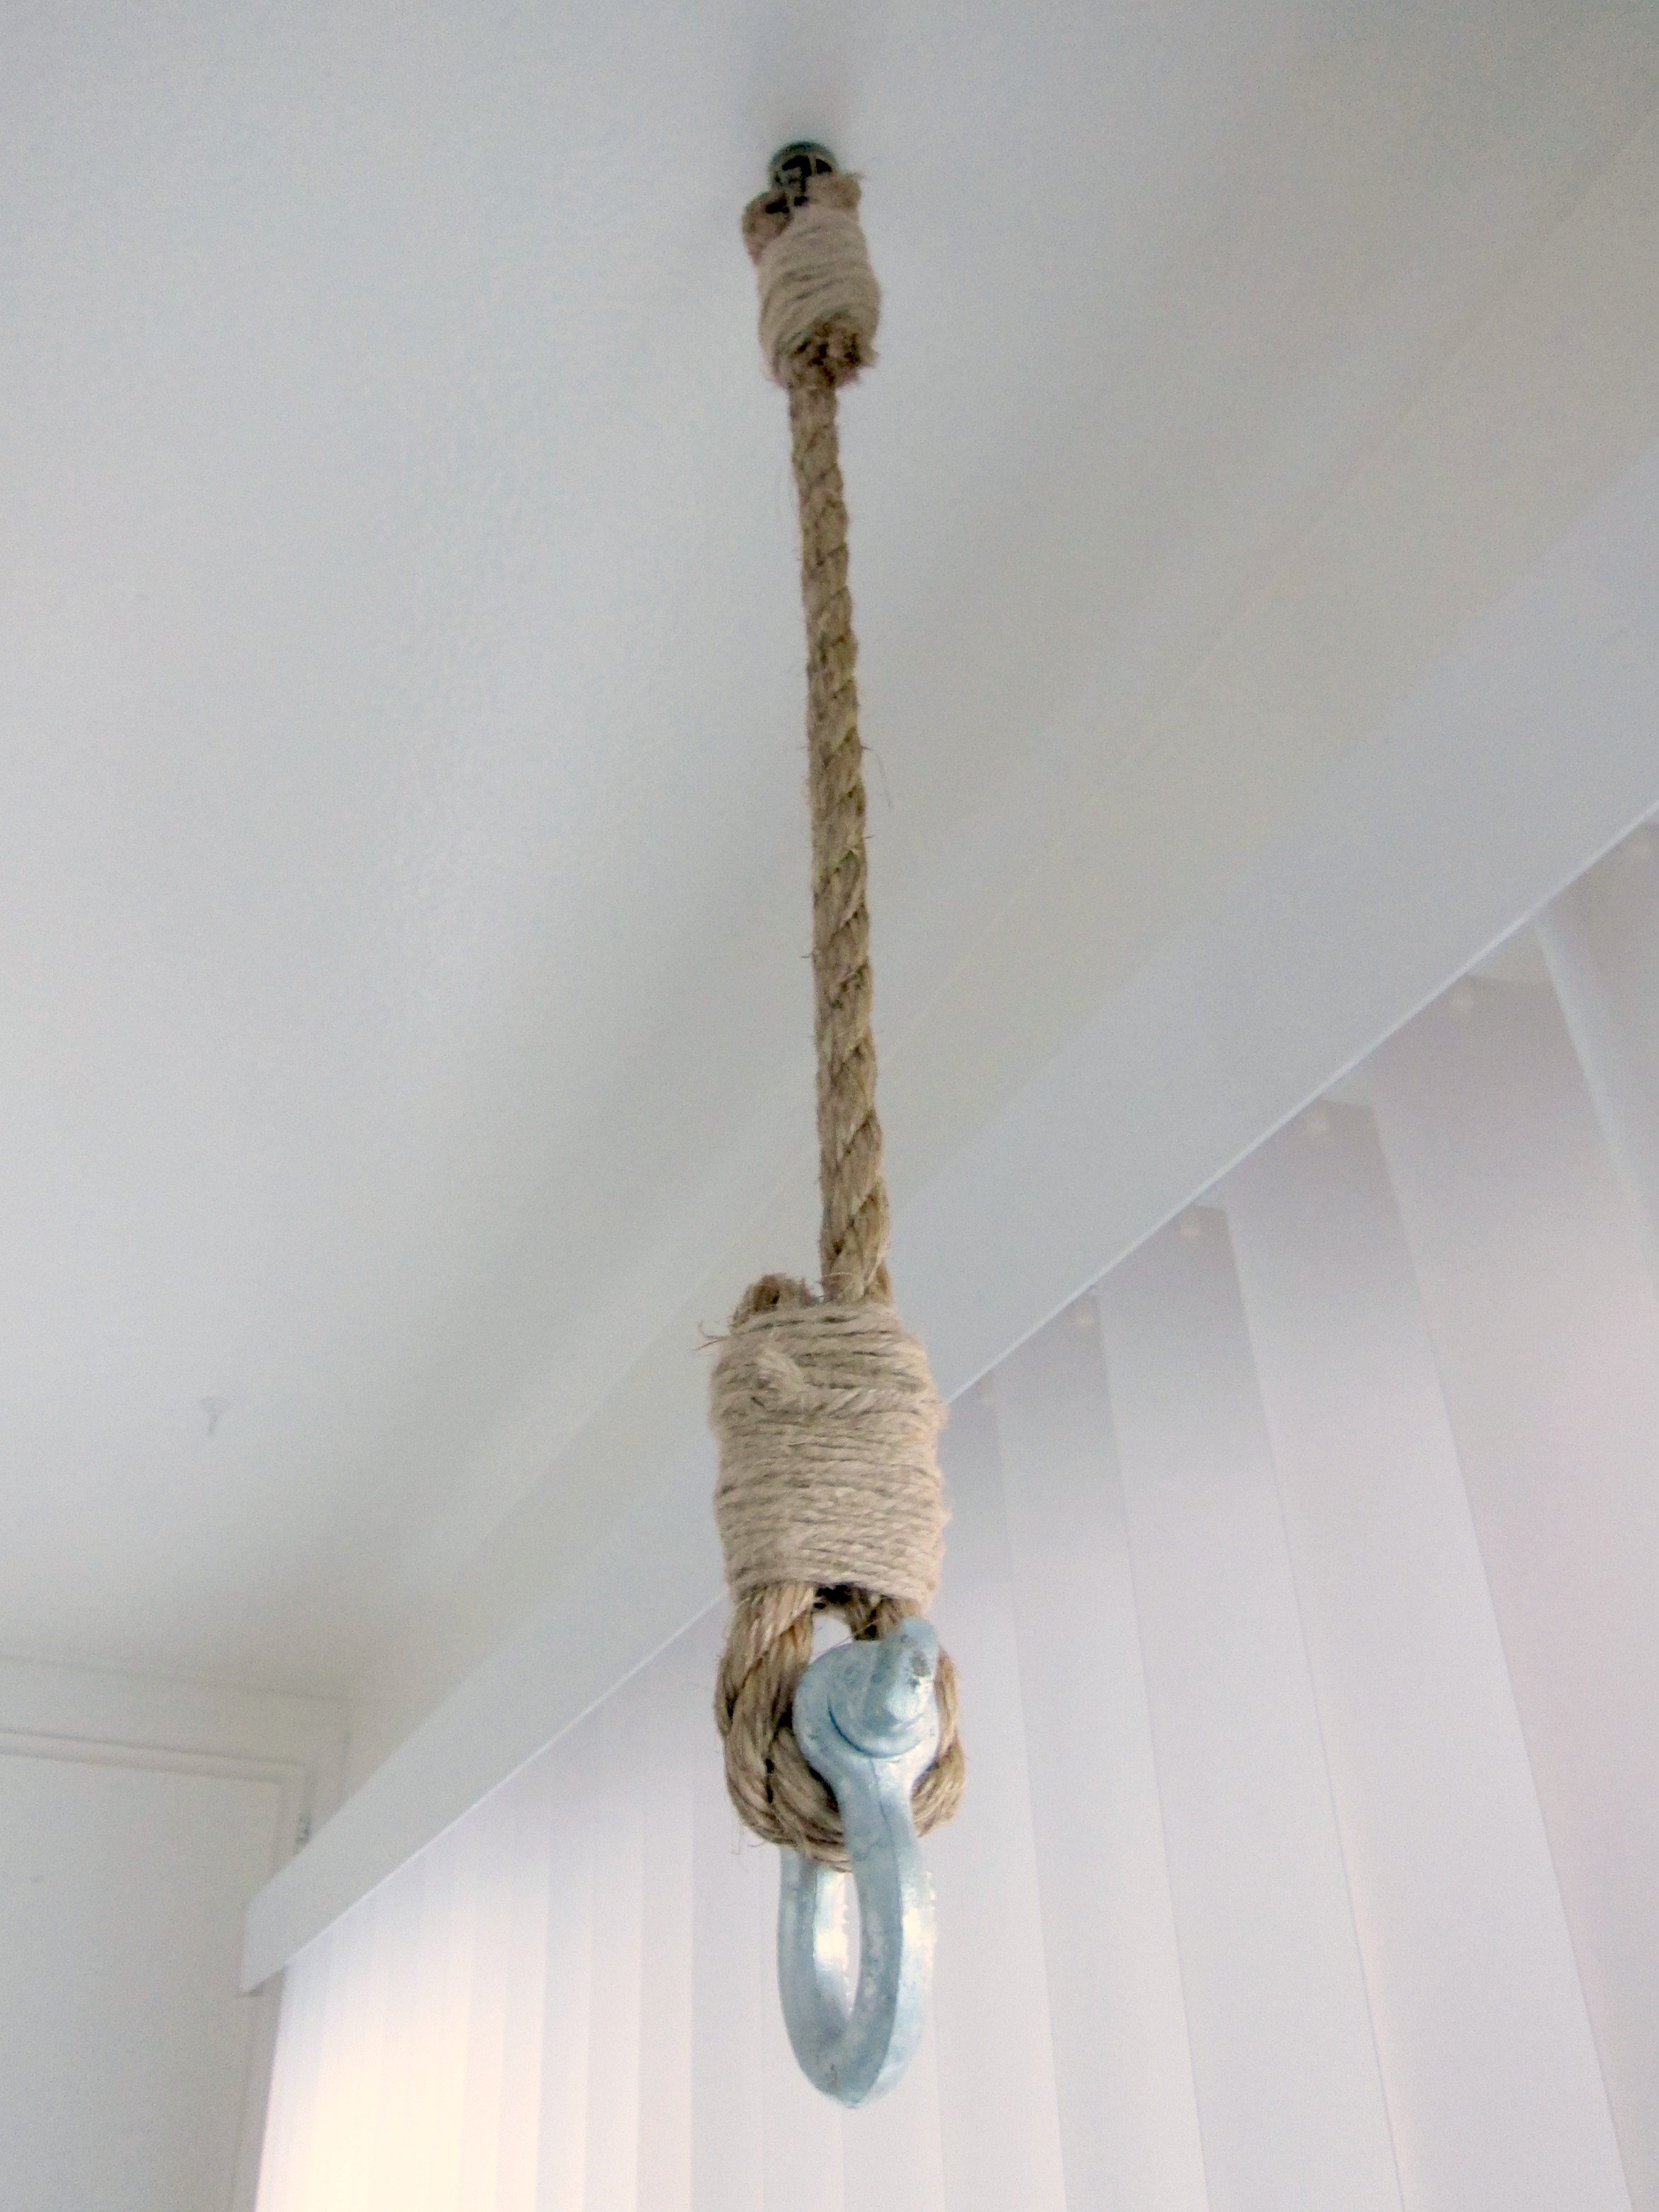
Next, hold the baskets over your counter until you find the right height, then measure for the rope, adding about 6 inches to each end because you’ll need to fold it over to create loops for hanging. Cut your rope to length (garden shears work well) then get your rope clamps and hammer. Lay the rope on a very hard surface, preferably cement, and align the first clamp at one end. Hammer the edges down over the rope until secure. Fold the rope to create a small loop, leaving it big enough to fit your attachments (ceiling hook and anchor shackle). While the rope is still held in a loop, align the second clamp in place adjacent to the first clamp and hammer like the first. Do the same to the other end of the rope.

Holding the rope in the same sized loop as before so the clamps line up next to eachother, use your duct tape to tightly tape them together over the metal clamps. Do the same to the other end.

Take the twine and using the end, wrap it once around the rope at the edge of the tape and tie a knot. Then continue wrapping the twine – tucking the ends of the knot underneath the layers – until all the duct tape is covered and tie a knot at the end, trimming the loose ends of the knot. Do the same to the other end.

Attach one end of the rope to your ceiling hook and attach the anchor shackle to the other end.


Now it’s time to attach your baskets. Hold them from the top basket again to measure how much twine you’ll need from the edge of the top basket to the anchor shackle, allowing extra for tying (I cut mine to 18 inches) and also doubling up the twine again, so cutting 8 pieces to length not 4. Attach the baskets, feeding the twine through at each corner of the top basket and tying to the anchor shackle.
Almost done! You’ll want to fill your baskets with some produce (or other heavy items) to test for balance. Identify any corners that need to be either loosened or tightened until all baskets are level. Mine was pretty lopsided at first and it took me about 20 minutes to get it into balance because I needed to take all the produce out of the baskets to re-tie one corner, then put the produce back in for testing. Totally worth all that effort though!
And since you’re all so creative, I bet you could come up with tons of other ways these baskets could be used! In a bathroom with towels. In a corner over a decorative table with books or greenery. The sky’s the limit! Wait, I guess the ceiling is the limit (cheeky smile).


it would be better to use the correct size rope clamp at the ceiling instead of tapping together the two small ones to prevent long term failed of that connection carrying weight as tape glue drys out – better yet would be an eye splice with tapering and whipped if we are gonna be really crafty.
Hi Frank, thanks so much for the tips!
Pingback: Cestos colgantes DIY