
Almost 8 years ago to the month I wrote my final Tiffany Lane Handmade blog post.
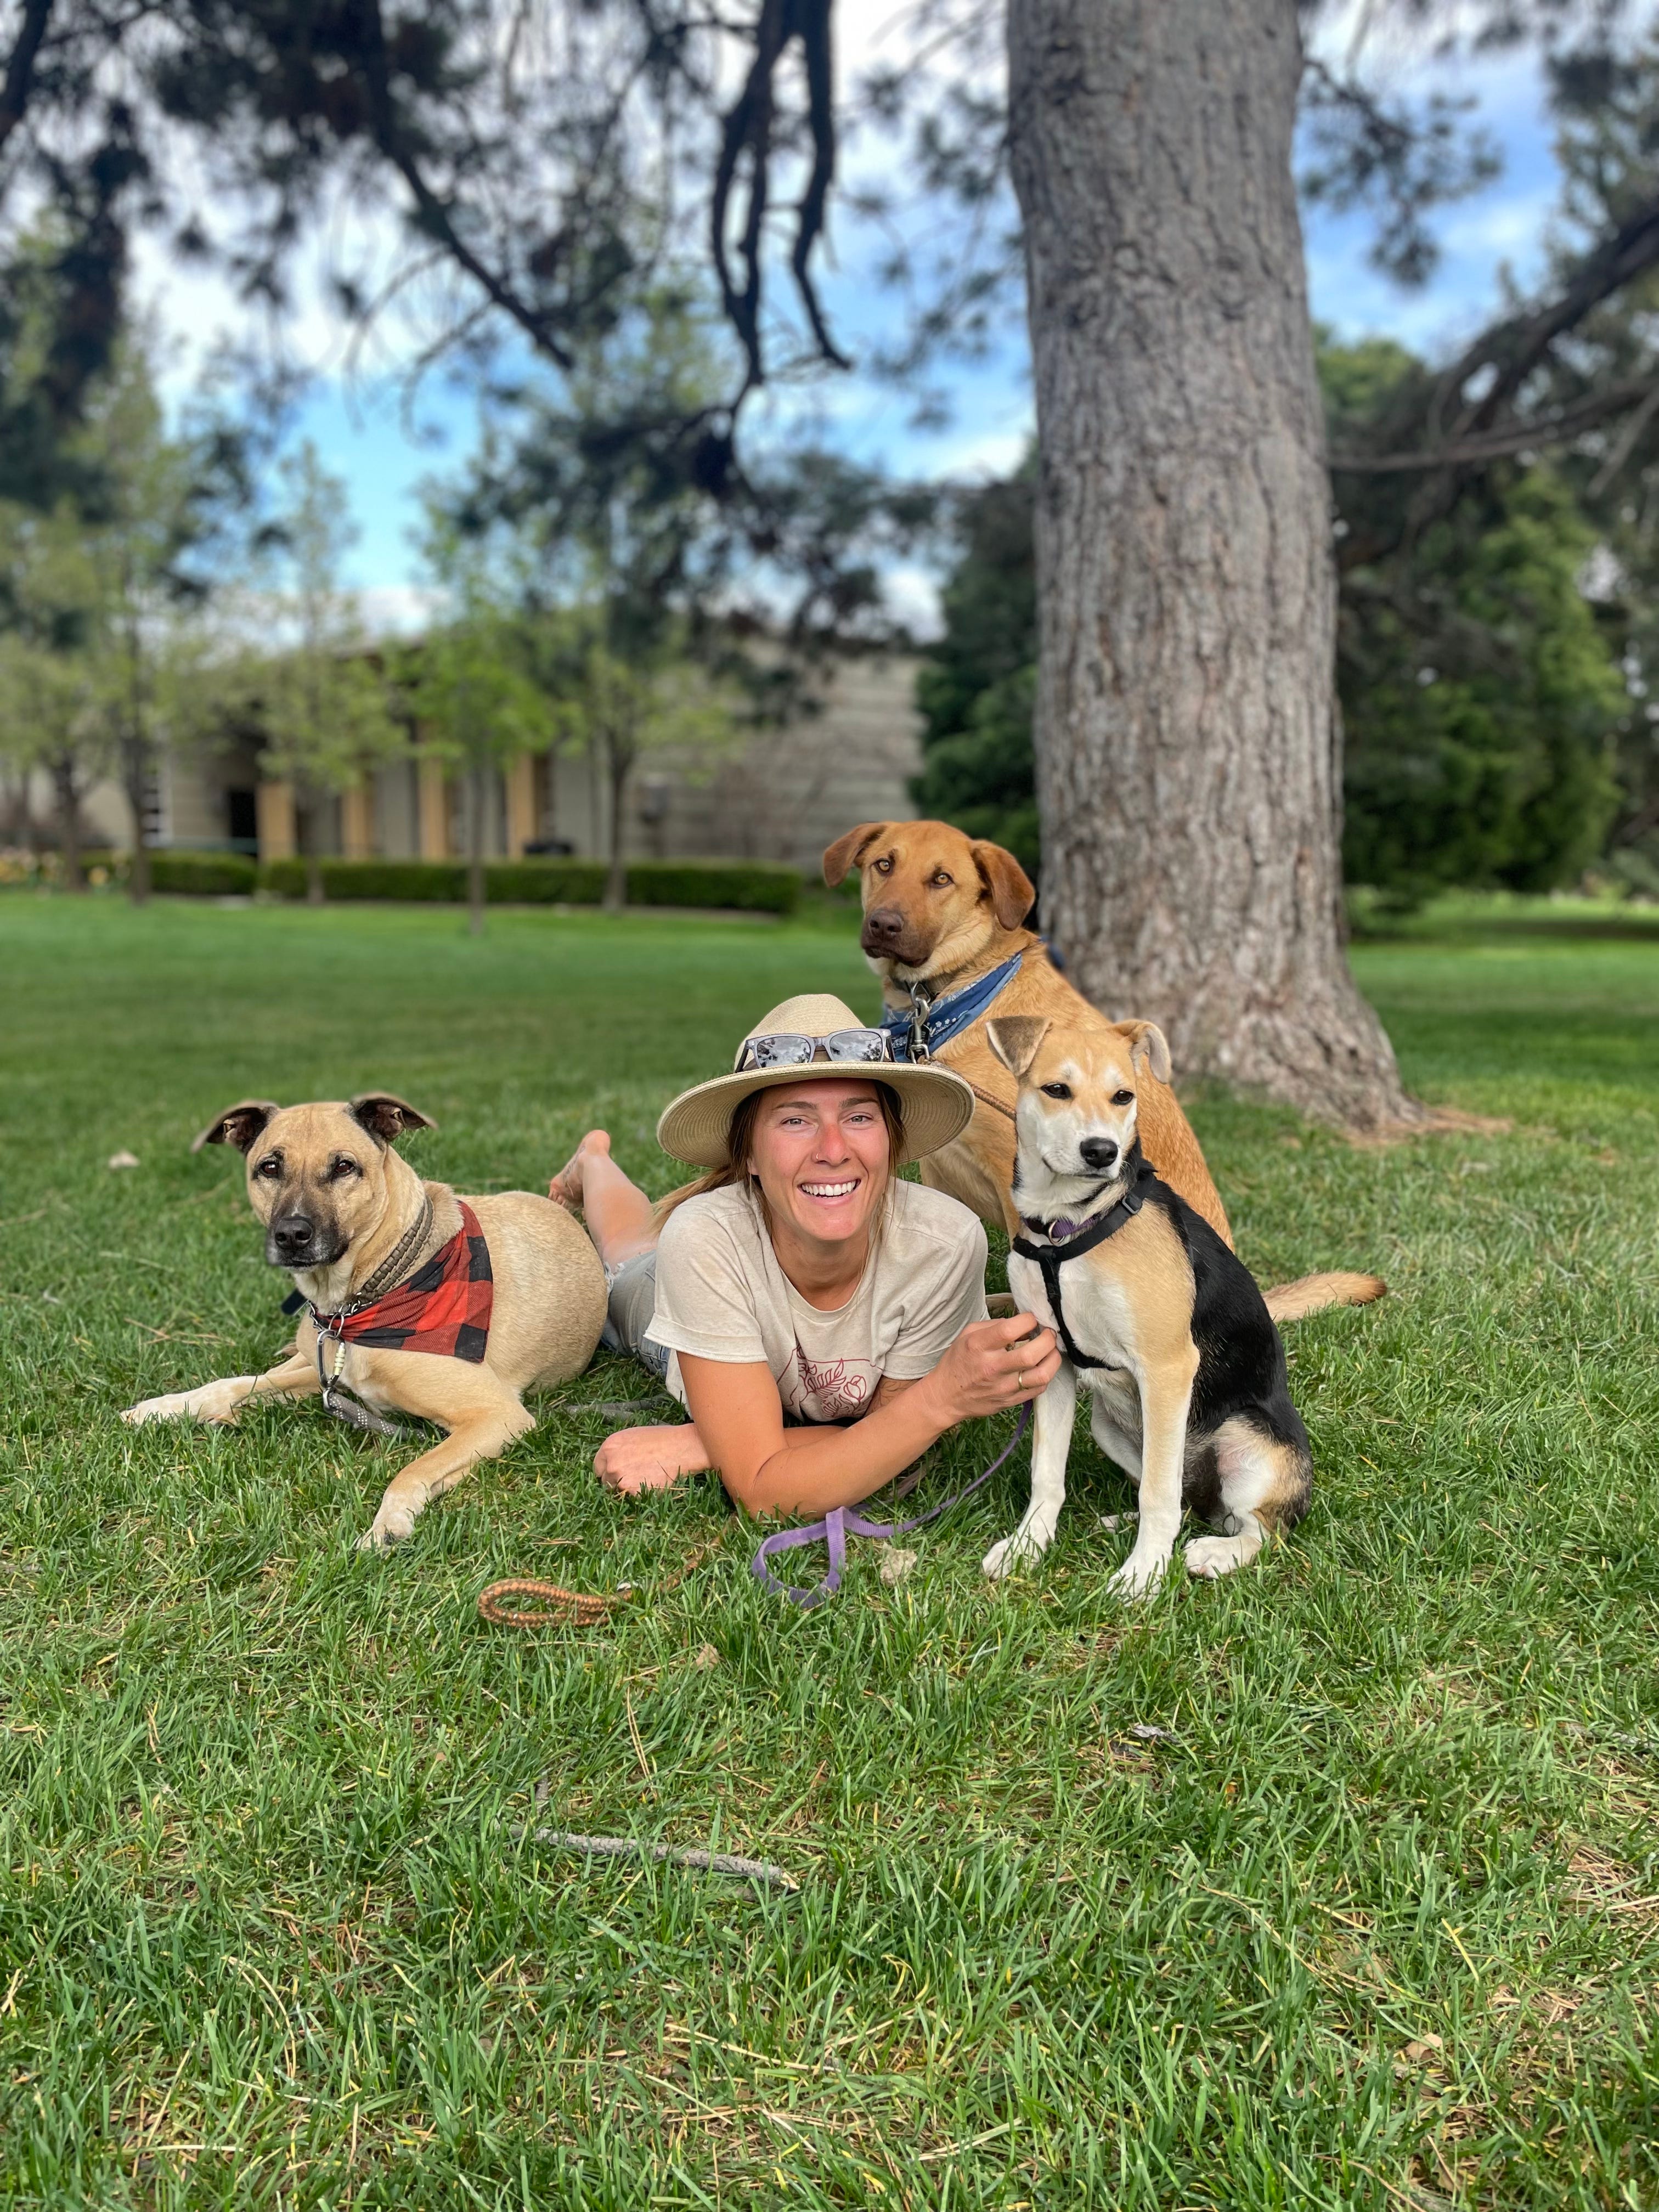
With a creative nonfiction memoir in the works, 3 dogs in tow and a new home in Oregon (after 2 years traveling the Western US in a van!), my words are landing somewhere new.
Join me up in the treehouse at Treehouse Wild!
What’s in the Treehouse?
A colorful world of words that will sometimes transport you into whimsical fantasy, at times challenge you to consider a different perspective, occasionally elicit a smirk and (hopefully) usually remind us all of the depths of our humanity.
A mix of creative nonfiction and fiction short stories, poetry and my personal musings exploring our inner world while we live in the external. My weekly newsletter goes out every Sunday at 8am.
I want to check out the Treehouse!
Why a Treehouse?
Picture this in your mind with me: Your legs are dangling over the edge of the wooden deck, head on a pillow, birds chirping, leaves swaying. Sun rays peaking through the leafy canopy create a cacoon of perfect warmth. Clouds blur overhead in your peripherals behind your favorite book. And then your friend climbs up, backpack in tow full of snacks and books, swapping stories, trading spines. Your branchy haven becomes both escape from the world below and a new perspective as you look across the horizon, propelling you into the adventures awaiting you at the bottom of the ladder.
Yeah, that’s the feeling.
Yes, take me to Treehouse Wild!
Meet Your Treehouse Scout
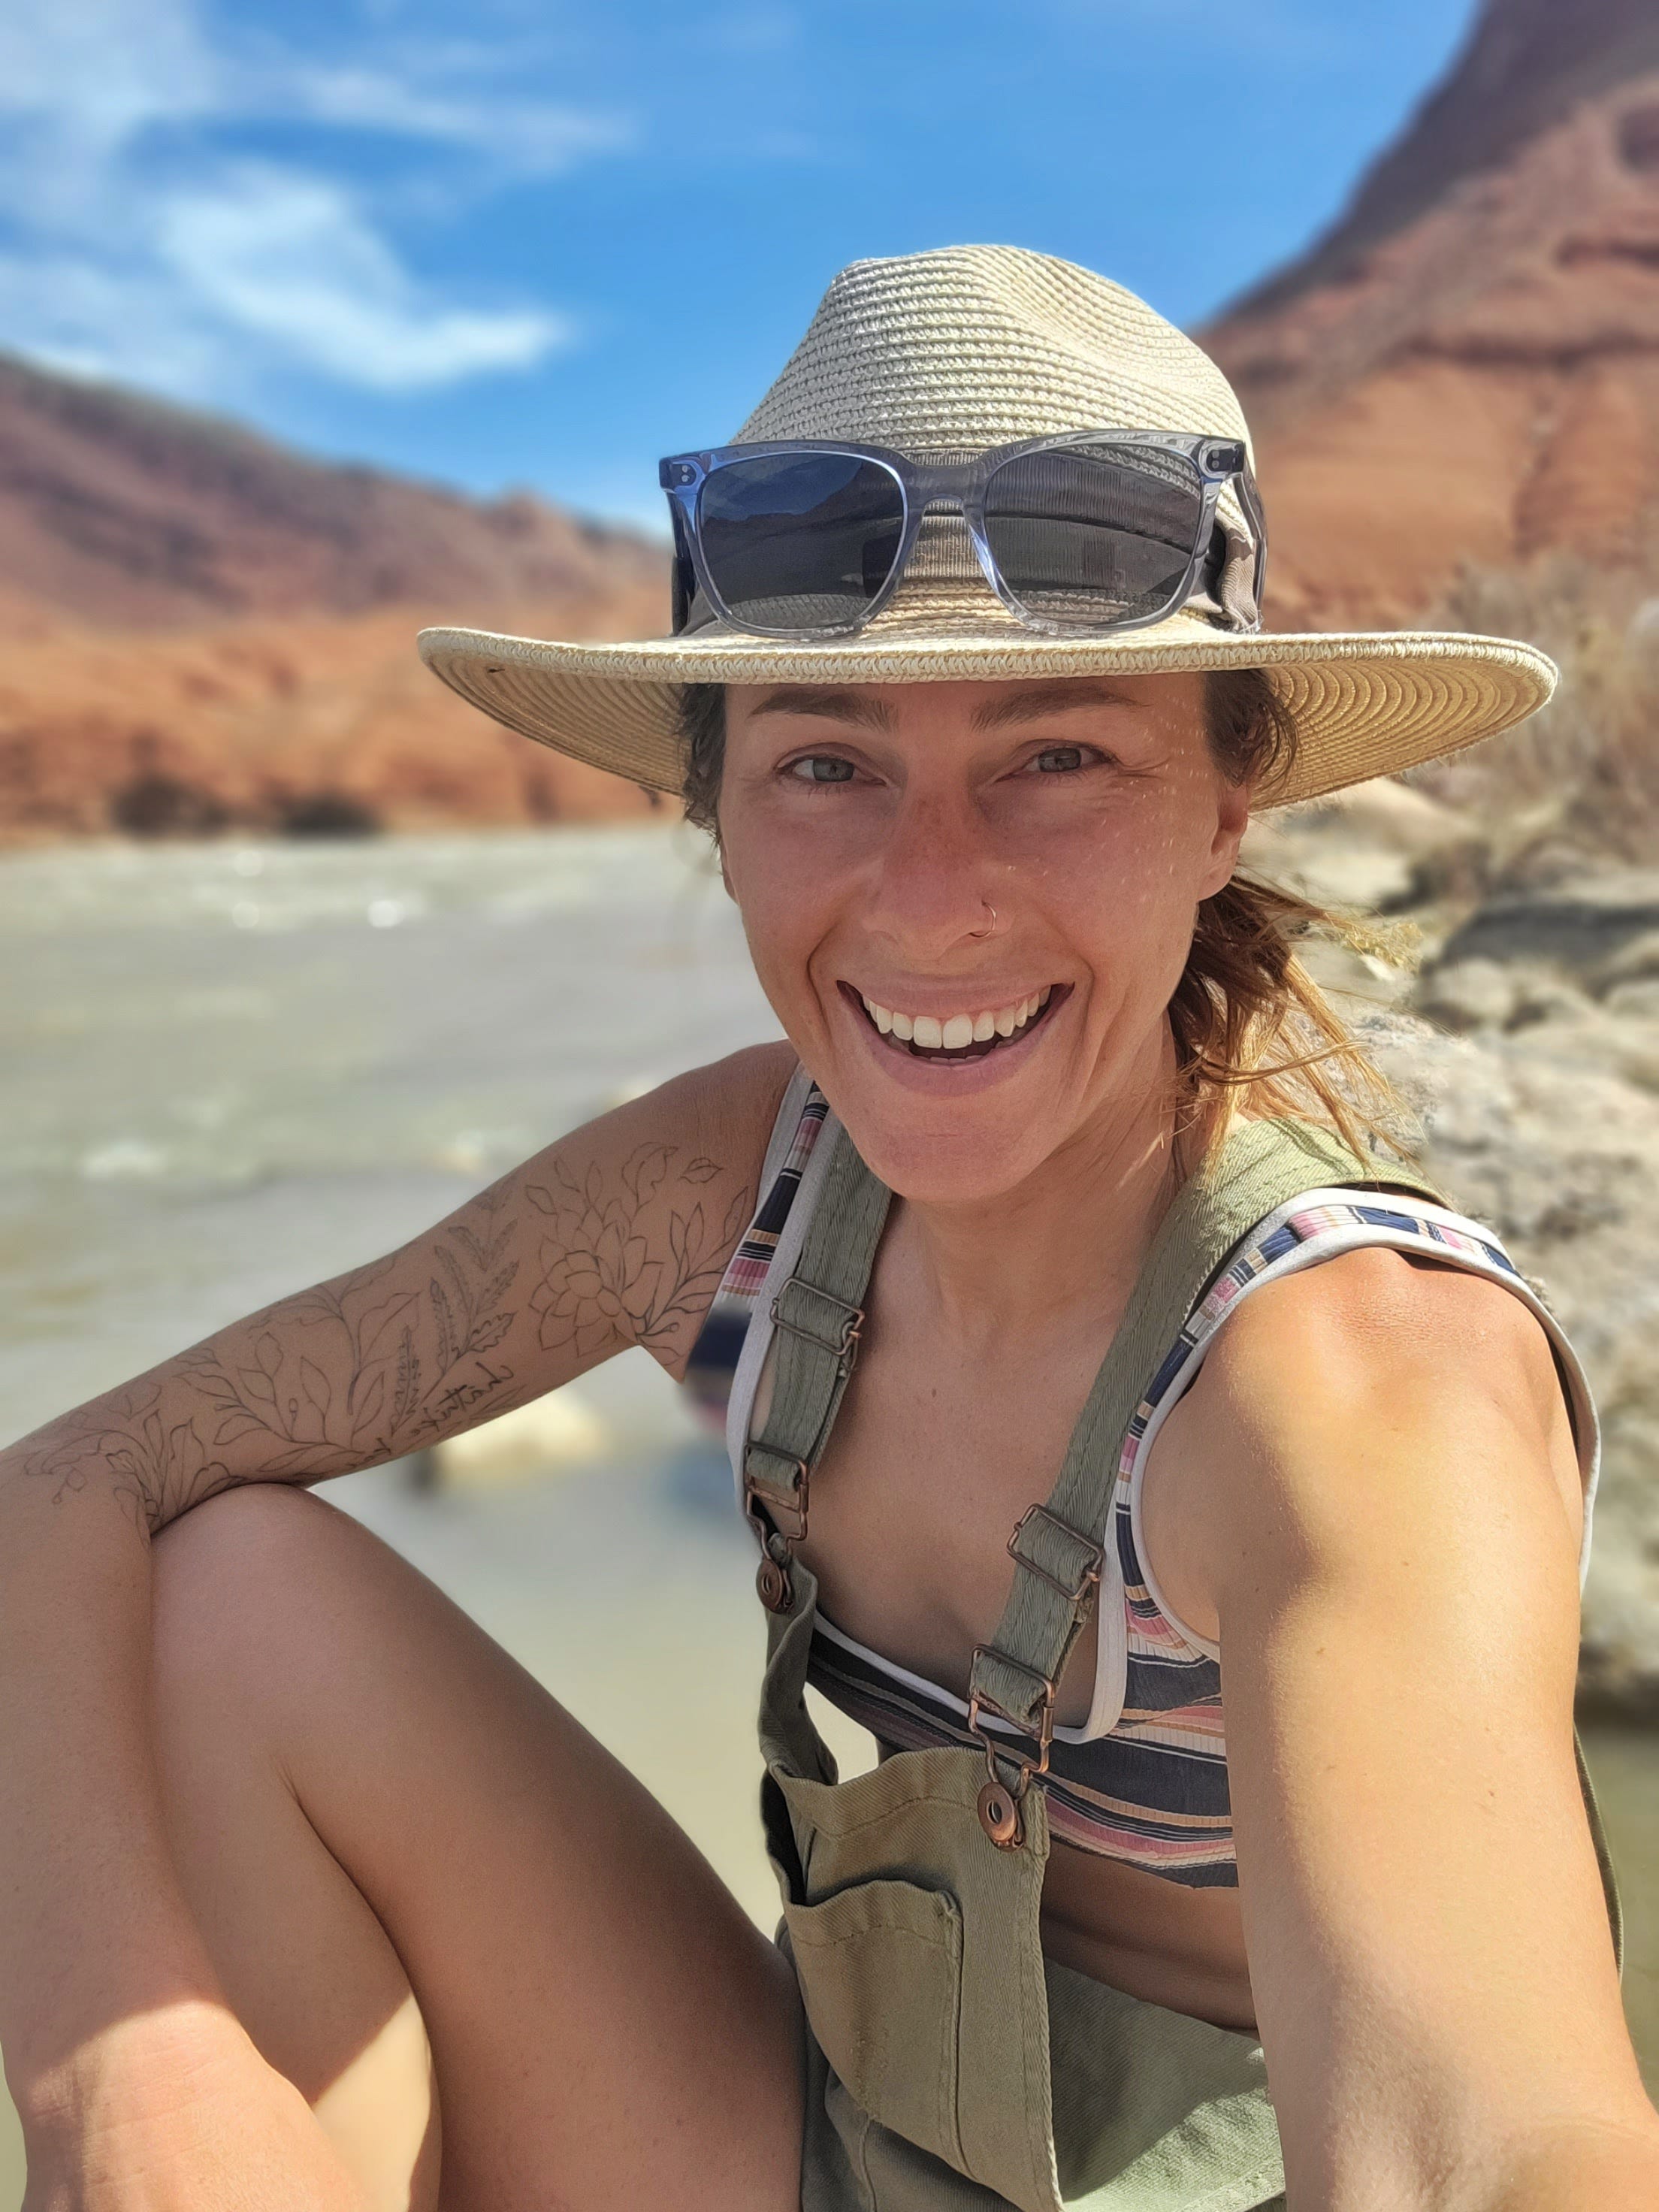
Just a wild woman paving (bushwacking?) my own way through this life. Still out here learning what it means to truly, actually, really love myself. And how to make decisions not out of fear, but from my deep, healing parts. Feeding my inner child one adventure at a time.
Growing up too fast with too little support thrust me into adulthood as an empty shell with a nice smile, a husband in tow, and zero idea how to live. Survival had been my closest companion for decades. And writing became a haven for inner exploration.
One weekend afternoon in Southern California as a late 20 something changed everything – somehow all at once and slowly like Jupiter revolving around the sun.
Sleepless nights during a tumultuous time of healing made way for gut-wrenching, gritty poetry and a few short stories that are now chapters in my in-process creative nonfiction memoir Laney: And Her Unraveling Story of Healing.
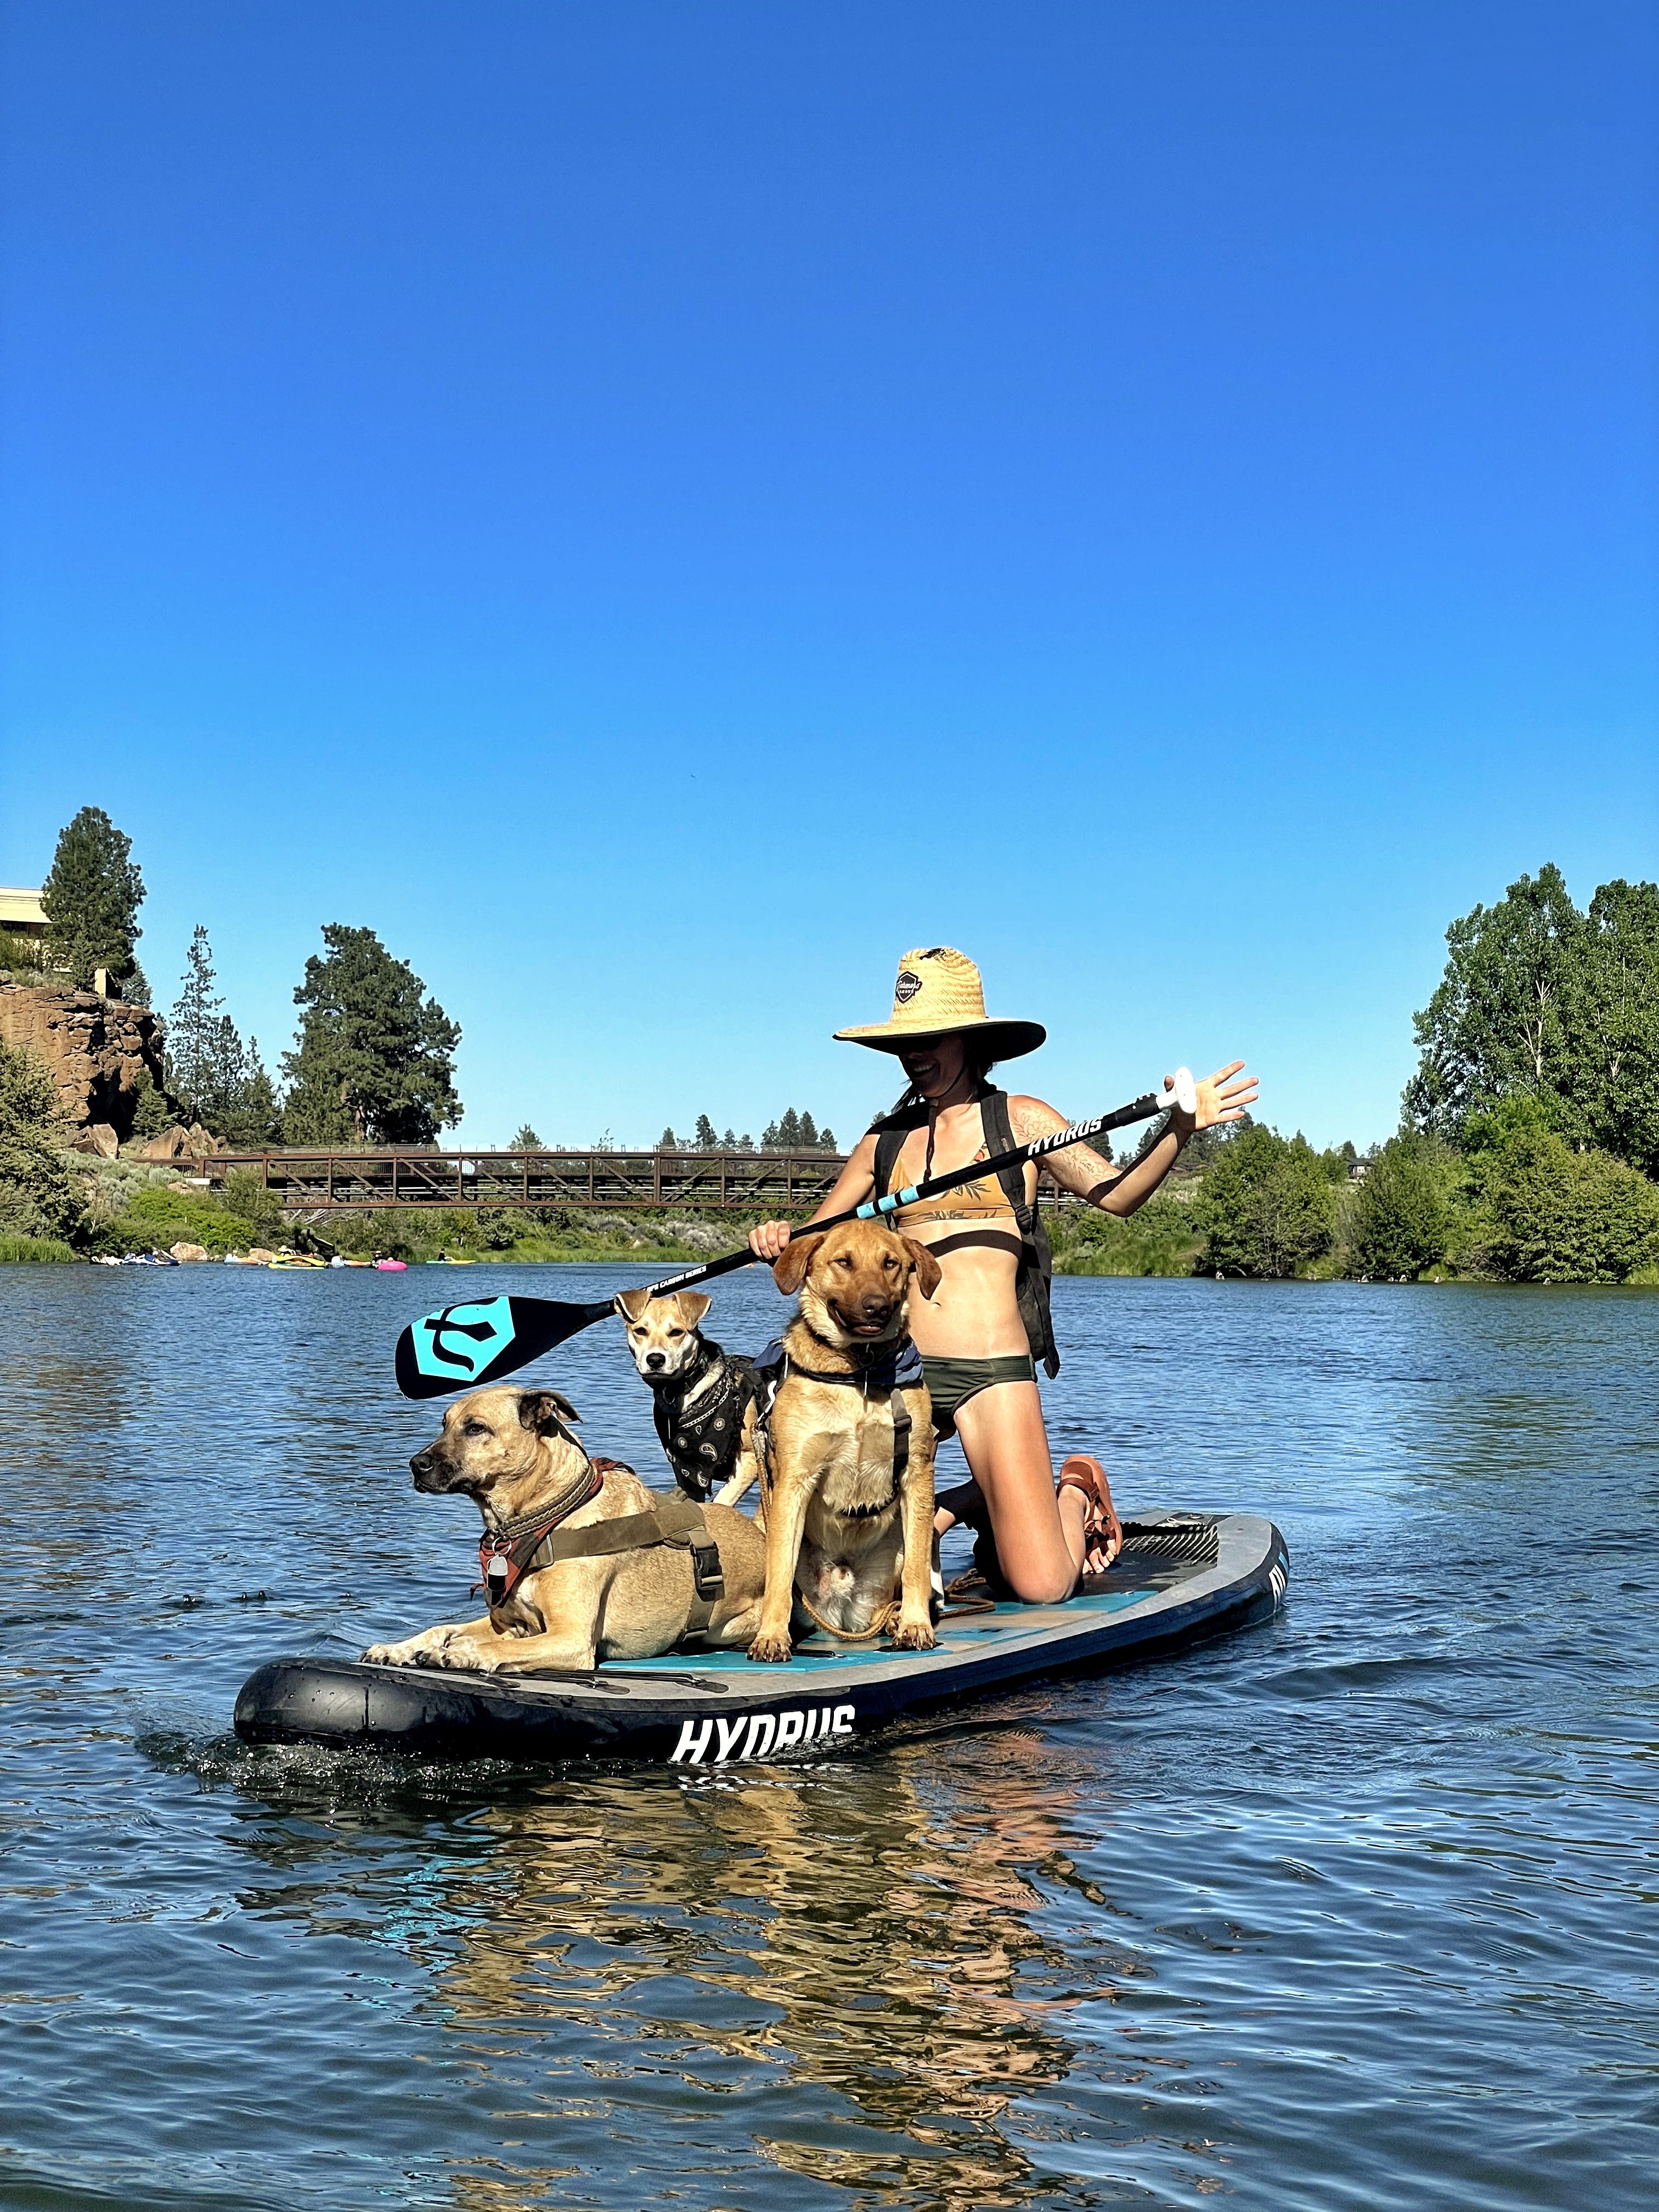
Years later, a two-week road trip with one dog turned into living in a van, traveling the Western United States for two years and building our pack with two more rescue dogs while chasing hikes, swimming holes, hot springs and starlit skies.
When I’m not writing my memoir, sharing on Treehouse Wild or working with clients on their content and copywriting needs, you can find my dogs and me adventuring through nature’s playground, sleeping beneath the stars or enjoying the simple pleasures of our current life back on the grid in Oregon.
Warmth,
Tiffany
P.S. Find me on Instagram and YouTube!
Take me to the Treehouse!


